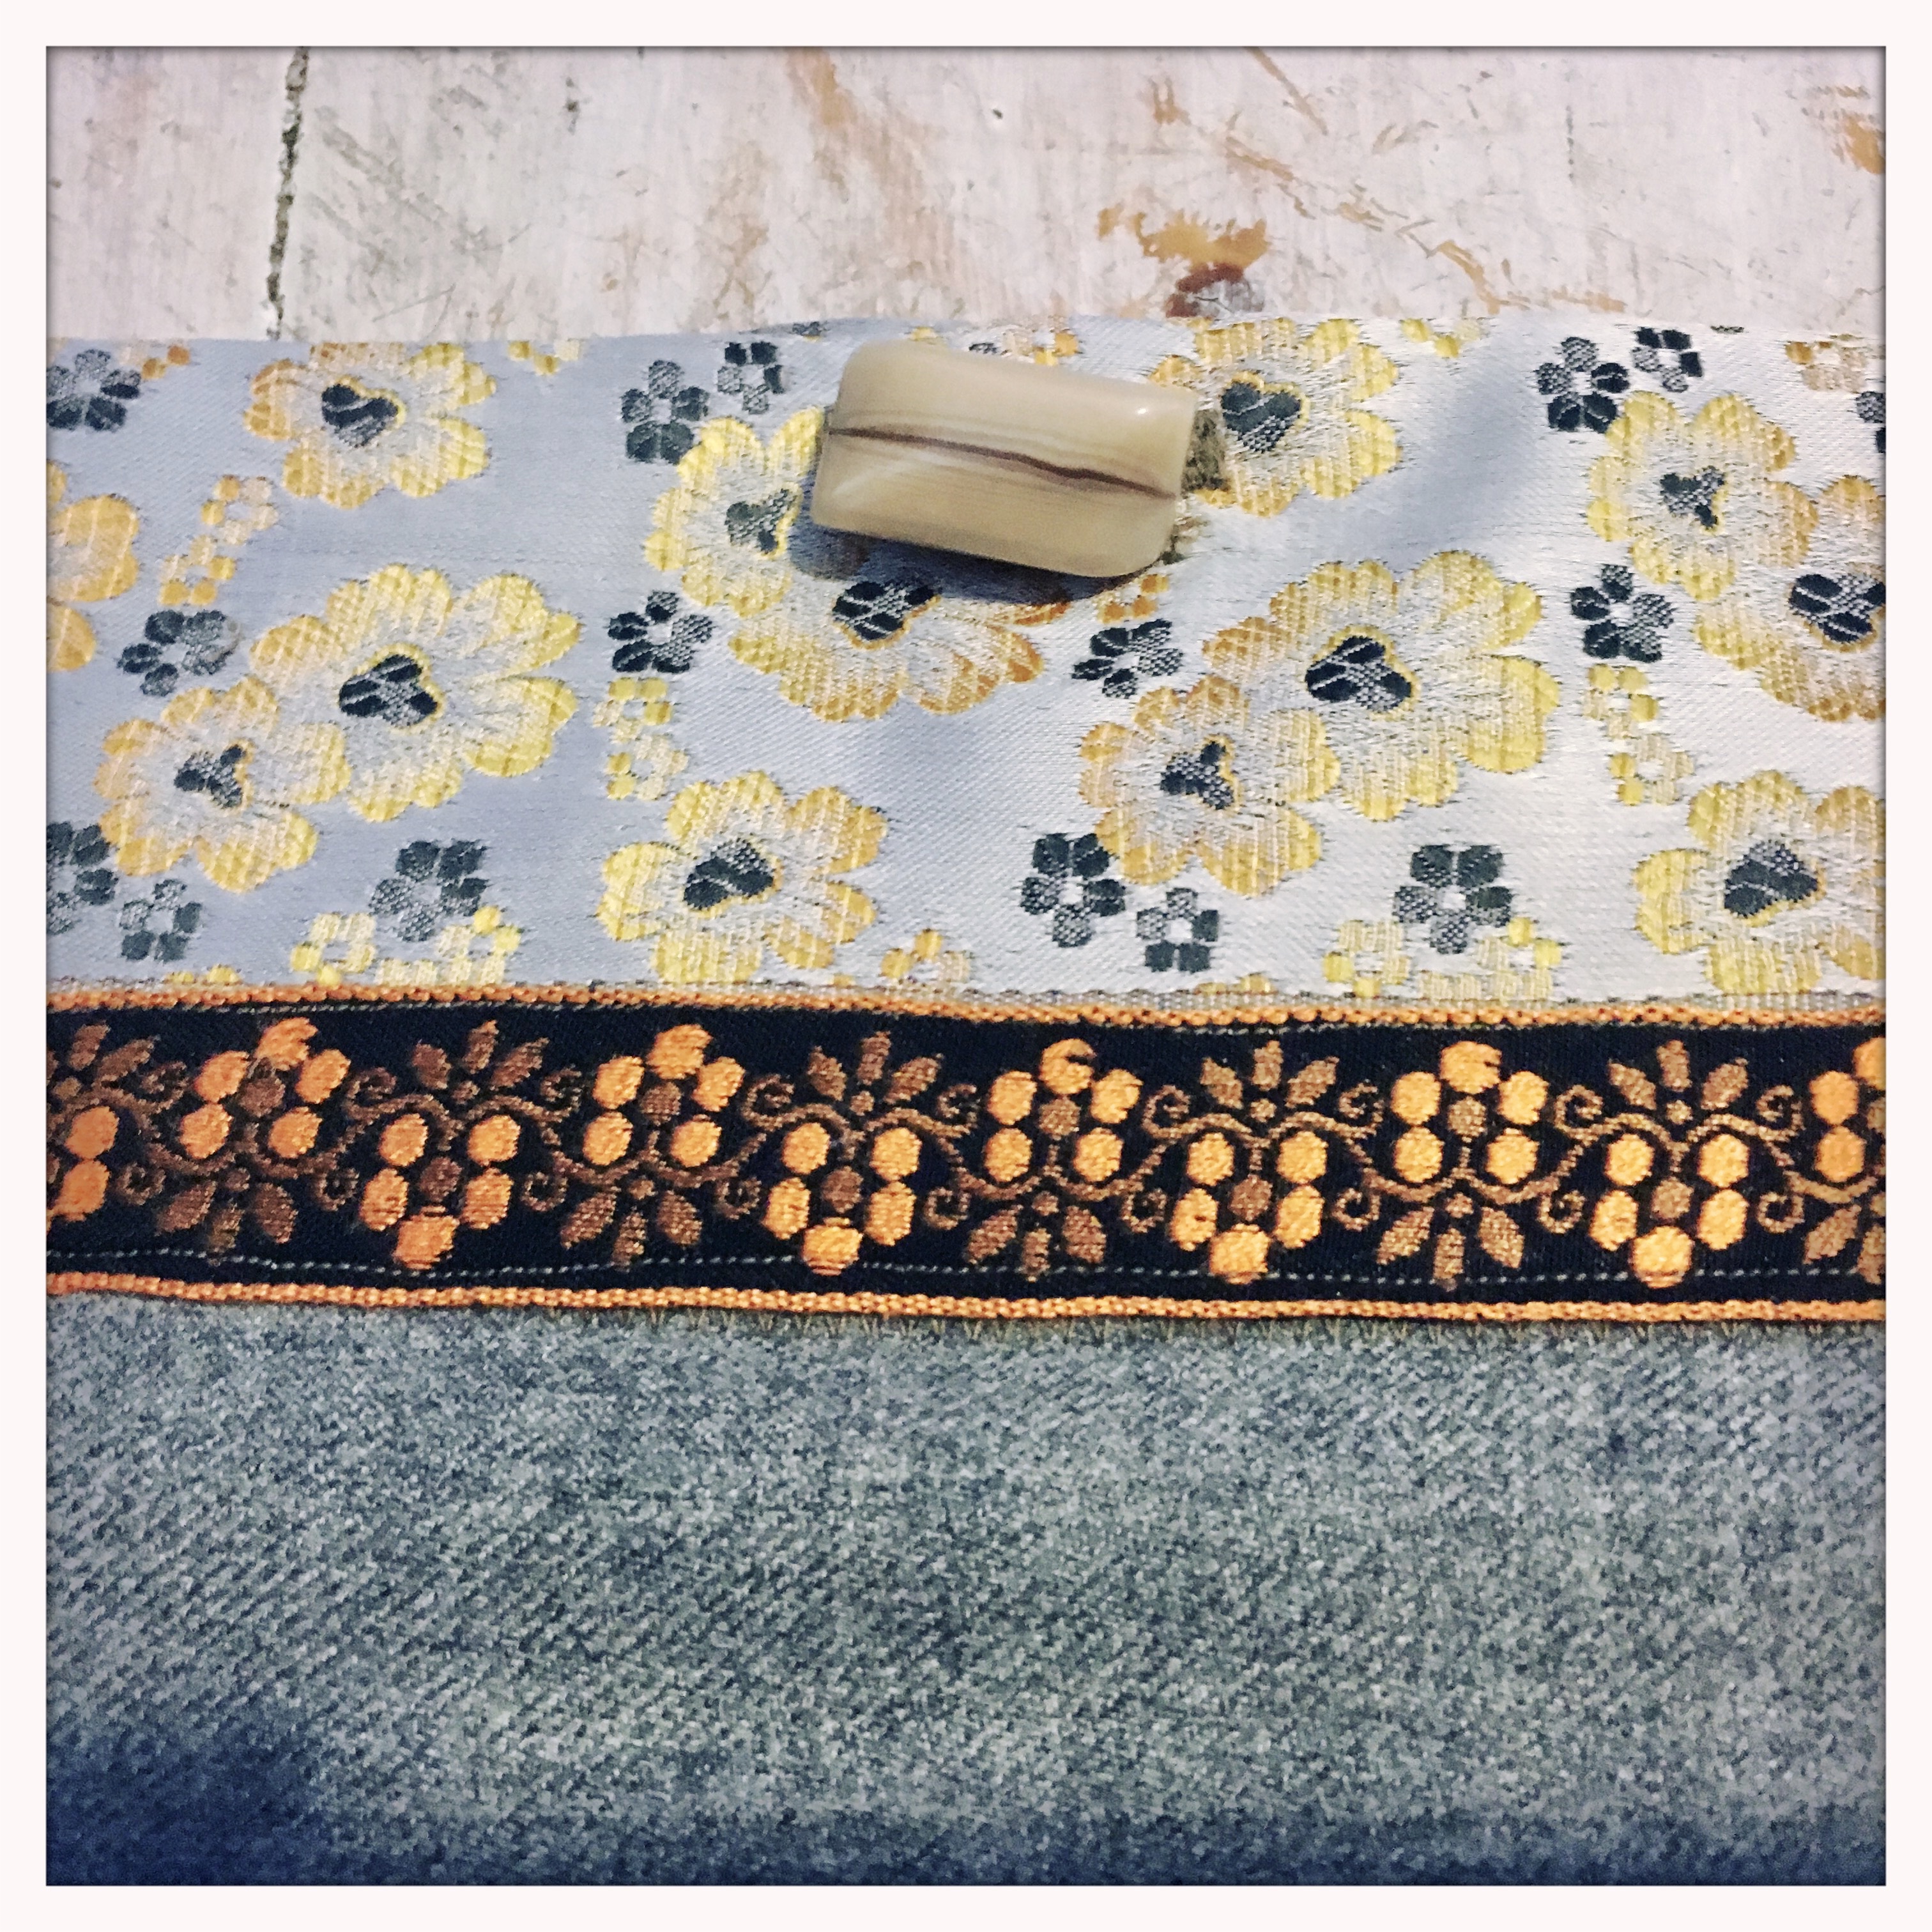
A sewing project to save some pennies

I needed to get myself a new laptop. This involves a lot of deep breathing as these things are SO expensive! My last one is nine years old is cumbersome and weighs a ton so I’ve opted for something much smaller and lighter as I do so much travelling and it is my whole life, work station and communication hub. The next thing I started to look at was some kind of case to protect it but they to are very expensive. After some pondering I realised I just needed to make my own. I searched all my material scraps (which are extensive!) and came up with a plan that in the end has cost me nothing. Result!

First of all get the materials together. You will need two pieces of material one for the outside and one for the lining. It’s best if it is smooth or silky for the inside so the laptop slides in easily and something tougher for the outside. Any embellishments you might like to add some personality to the finished piece, a button some padding and matching threads.
Begin by cutting out two pieces of fabric that are twice the size of your laptop plus a couple of inches all the way round for seams and another couple of inches at the top for the button to be attached. You could cut one and then use that as a template for the other piece, one for the outside and one for the inside. And finally cut a piece for the padding this needs to be twice the size of the the laptop plus an inch all the way round.


First pin the padding onto the wrong side of the cover material and zigzag stitch the edge to the cover so it won’t slip around when finished. The zigzag stitch will then disappear into the seam when all stitched together. Then fold the right sides together and stitch the sides to create a pocket. Do the same with the lining just minus the padding. You will end up with two pockets and the lining pocket should comfortably fit inside the outer layer. At this stage check that your laptop actually fits inside snuggly incase it doesn’t fit or the pockets are to big as you don’t want it to be sliding around either.


Put the lining pocket inside the outer pocket and fold over the edges back to back pin and hand stitch round the top. Add any embellishments you want to, I added some bits of ribbon to cover seams because I have extra seams due to not having quite enough material for the outside cover.


Finally make a button hole. A button hole does need a sewing machine but if you don’t have one or would prefer a hand stitched project then you could make ties for the top instead or buy a set of eyelet holes to punch in to create holes on both sides to then thread ribbon or leather through to tie it all together. Or another suggestion is to stitch press studs on but they could scratch the laptop as you slide it in and out. Finally if you are good with zips one could be sewn on the top edge.

SaveSave